


Glossy Pink | Short Almond
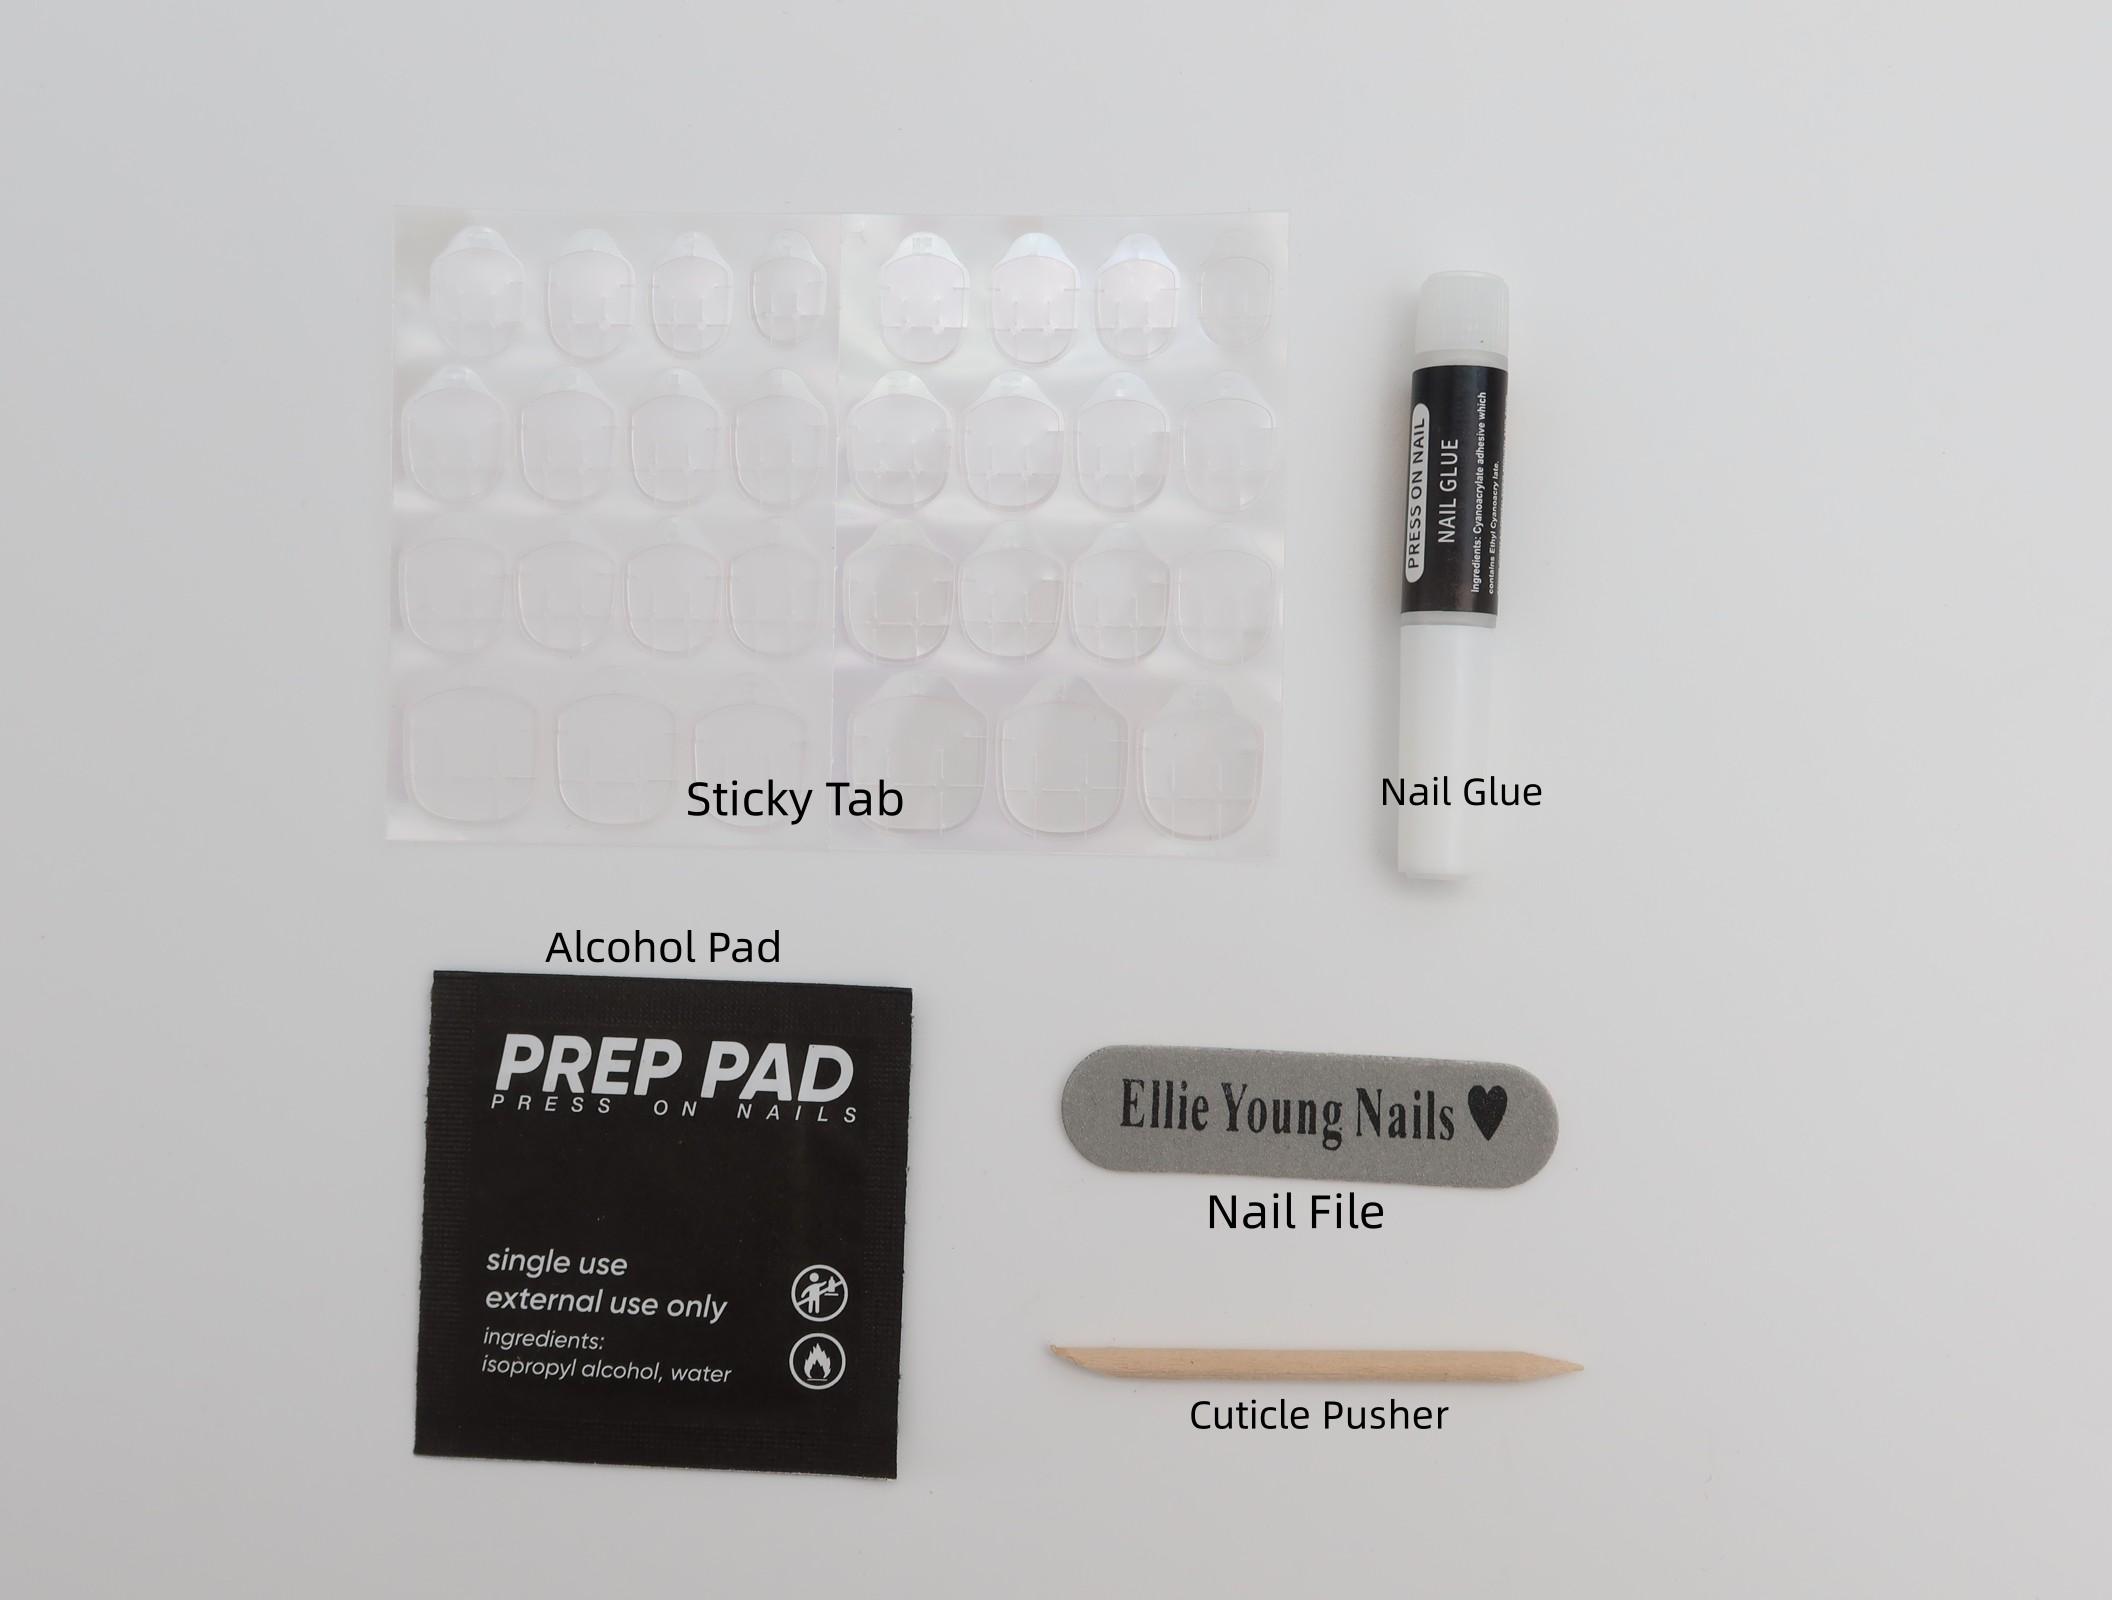
Complete Prep Kit:
-24pcs Press-on nails
-30pcs Sticky tab
-1 Nail glue
-1 Nail file
-1 Cuticle pusher
-1 Alcohol pad
How to apply the press on nails:
1. Start with clean, dry nails. If needed, gently push back your cuticles.
2. Select the press-on nails that best fit each of your natural nails.
3. Select a sticky tab that closely matches your natural nails.
4. Press down firmly on the press-on nail, starting from the cuticle and moving towards the tip.
5. Hold in place for a few seconds to allow the adhesive to bond securely.
6. Repeat the process for each nail, ensuring a snug fit for each press-on nail.
7. Once all nails are applied, you can optionally trim or shape them to your desired length and style.
8. Enjoy your freshly applied press-on nails!
Remember to avoid getting your nails wet for at least 2 hours after application to allow the adhesive to fully set and and bond.
How to remove the press on nails :
1. Soak nails in warm water for 2-3 minutes (Tip: Do not attempt to force or pull nails off)
2.Gently lift the edges of the press-on nails using a cuticle pusher
3.Slowly and carefully peel off the press-on nails, starting from one side and moving towards the other.
4.If you encounter resistance, you can try gently sliding dental floss underneath the press-on nail to help loosen it.
5.Once all the press-on nails are removed, discard the sticky tabs.
6.Moisturize your nails and hands afterward to keep them hydrated and healthy.
Avoid forceful removal to prevent damage to your natural nails
Here are some tips for applying press-on nails:
1. Clean and prep your natural nails: Make sure your nails are clean, dry, and free of any oils or residue before applying press-on nails. You can also gently push back your cuticles for a neater application.
2. Choose the right size: Select press-on nails that closely match the size and shape of your natural nails. If needed, you can file or trim the press-on nails to fit perfectly.
3. Use adhesive correctly: If the press-on nails come with adhesive tabs, ensure they are applied evenly and securely to the back of each press-on nail. If using nail glue, apply a thin, even layer to your natural nail and press the press-on nail firmly in place.
4. Press firmly and hold: When applying the press-on nails, press down firmly from the cuticle to the tip to ensure a strong bond. Hold each nail in place for a few seconds to allow the adhesive to set properly.
5. Trim and shape: Once all press-on nails are applied, you can trim and shape them to your desired length and style using a nail file or nail clippers.
6. Allow time to set: Avoid getting your nails wet for at least an hour after application to allow the adhesive to fully set and bond.
7. Be gentle: Treat your press-on nails with care to prevent lifting or damage. Avoid using your nails as tools and be cautious when handling objects.
8. Remove properly: When you ready to remove the press-on nails, follow the recommended removal process to avoid damaging your natural nails.
By following these tips, you can achieve a professional-looking manicure with press-on nails that last longer and look great
How to apply
1. Start with clean, dry nails. If needed, gently push back your cuticles.
2. Select the press-on nails that best fit each of your natural nails.
3. Select a sticky tab that closely matches your natural nails.
4. Press down firmly on the press-on nail, starting from the cuticle and moving towards the tip.
5. Hold in place for a few seconds to allow the adhesive to bond securely.
6. Repeat the process for each nail, ensuring a snug fit for each press-on nail.
7. Once all nails are applied, you can optionally trim or shape them to your desired length and style.
8. Enjoy your freshly applied press-on nails!
Remember to avoid getting your nails wet for at least 2 hours after application to allow the adhesive to fully set and and bond.
How to remove
1. Soak nails in warm water for 2-3 minutes (Tip: Do not attempt to force or pull nails off)
2.Gently lift the edges of the press-on nails using a cuticle pusher
3.Slowly and carefully peel off the press-on nails, starting from one side and moving towards the other.
4.If you encounter resistance, you can try gently sliding dental floss underneath the press-on nail to help loosen it.
5.Once all the press-on nails are removed, discard the sticky tabs.
6.Moisturize your nails and hands afterward to keep them hydrated and healthy.
Avoid forceful removal to prevent damage to your natural nails